Full Body Resistance Bands Workouts Men Can Do Literally Anywhere
What if you had a gym that fits in your backpack, costs less than a single month’s membership, and delivers full-body results without bulky equipment? Resistance bands are that gym!
According to the National Academy of Sports Medicine (NASM), resistance bands can decrease body fat and increase muscle strength to the same degree as free weights.
Moreover, research from the Journal of Physical Therapy Science indicates that resistance band training can significantly improve and challenge your muscle mass.
So, whether you’re at home, traveling, or simply looking to diversify your fitness routine, resistance bands provide an effective and convenient way for Men to achieve their fitness goals.
In this guide, we’ll explore 15 full body resistance band workouts for men that you can do literally anywhere.
Benefits of Full-Body Resistance Band Workouts for Men
1. Train Anywhere, Anytime
Resistance bands are compact and lightweight, making them an ideal workout companion for those on the move. Whether you’re at home, in the office, or traveling, these bands can easily fit into your bag, allowing you to maintain your fitness routine without the need for bulky equipment.
As highlighted by EW Motion Therapy, “Resistance bands are lightweight and portable, making them a convenient option for home exercises or on-the-go workouts.”
2. Suitable for All Fitness Levels
According to the Cleveland Clinic, “Resistance bands might not look like much, but they can strengthen your muscles as effectively as more traditional weights.” Resistance bands cater to a wide range of fitness levels, from beginners to advanced athletes.
They can be used to target various muscle groups, allowing for a full-body workout. The bands come in different resistance levels, enabling users to adjust the intensity of their exercises as needed.
3. Joint-Friendly: Low-Impact Training
One of the standout features of resistance bands is their low-impact nature, which reduces the risk of injury. They provide smooth, controlled resistance, minimize stress on joints, and make them an excellent choice for rehabilitation and individuals with joint concerns.
The LIT Method notes, “Resistance bands do not put uncontrolled pressure and stress on bones or joints, protecting them against injury.”
4. Affordable Fitness Solution
Resistance bands are a budget-friendly alternative to traditional gym equipment. A decent set of bands costs significantly less than most gym memberships or home gym setups, making them accessible to a broader audience.
Read Also: Resistance Band Exercises for Legs
Essential Equipment for Full Body Resistance Band Exercises
It’s crucial to understand the different types of bands and accessories available to maximize the benefits of resistance band workouts. Each type offers unique advantages and caters to various exercises and fitness levels.
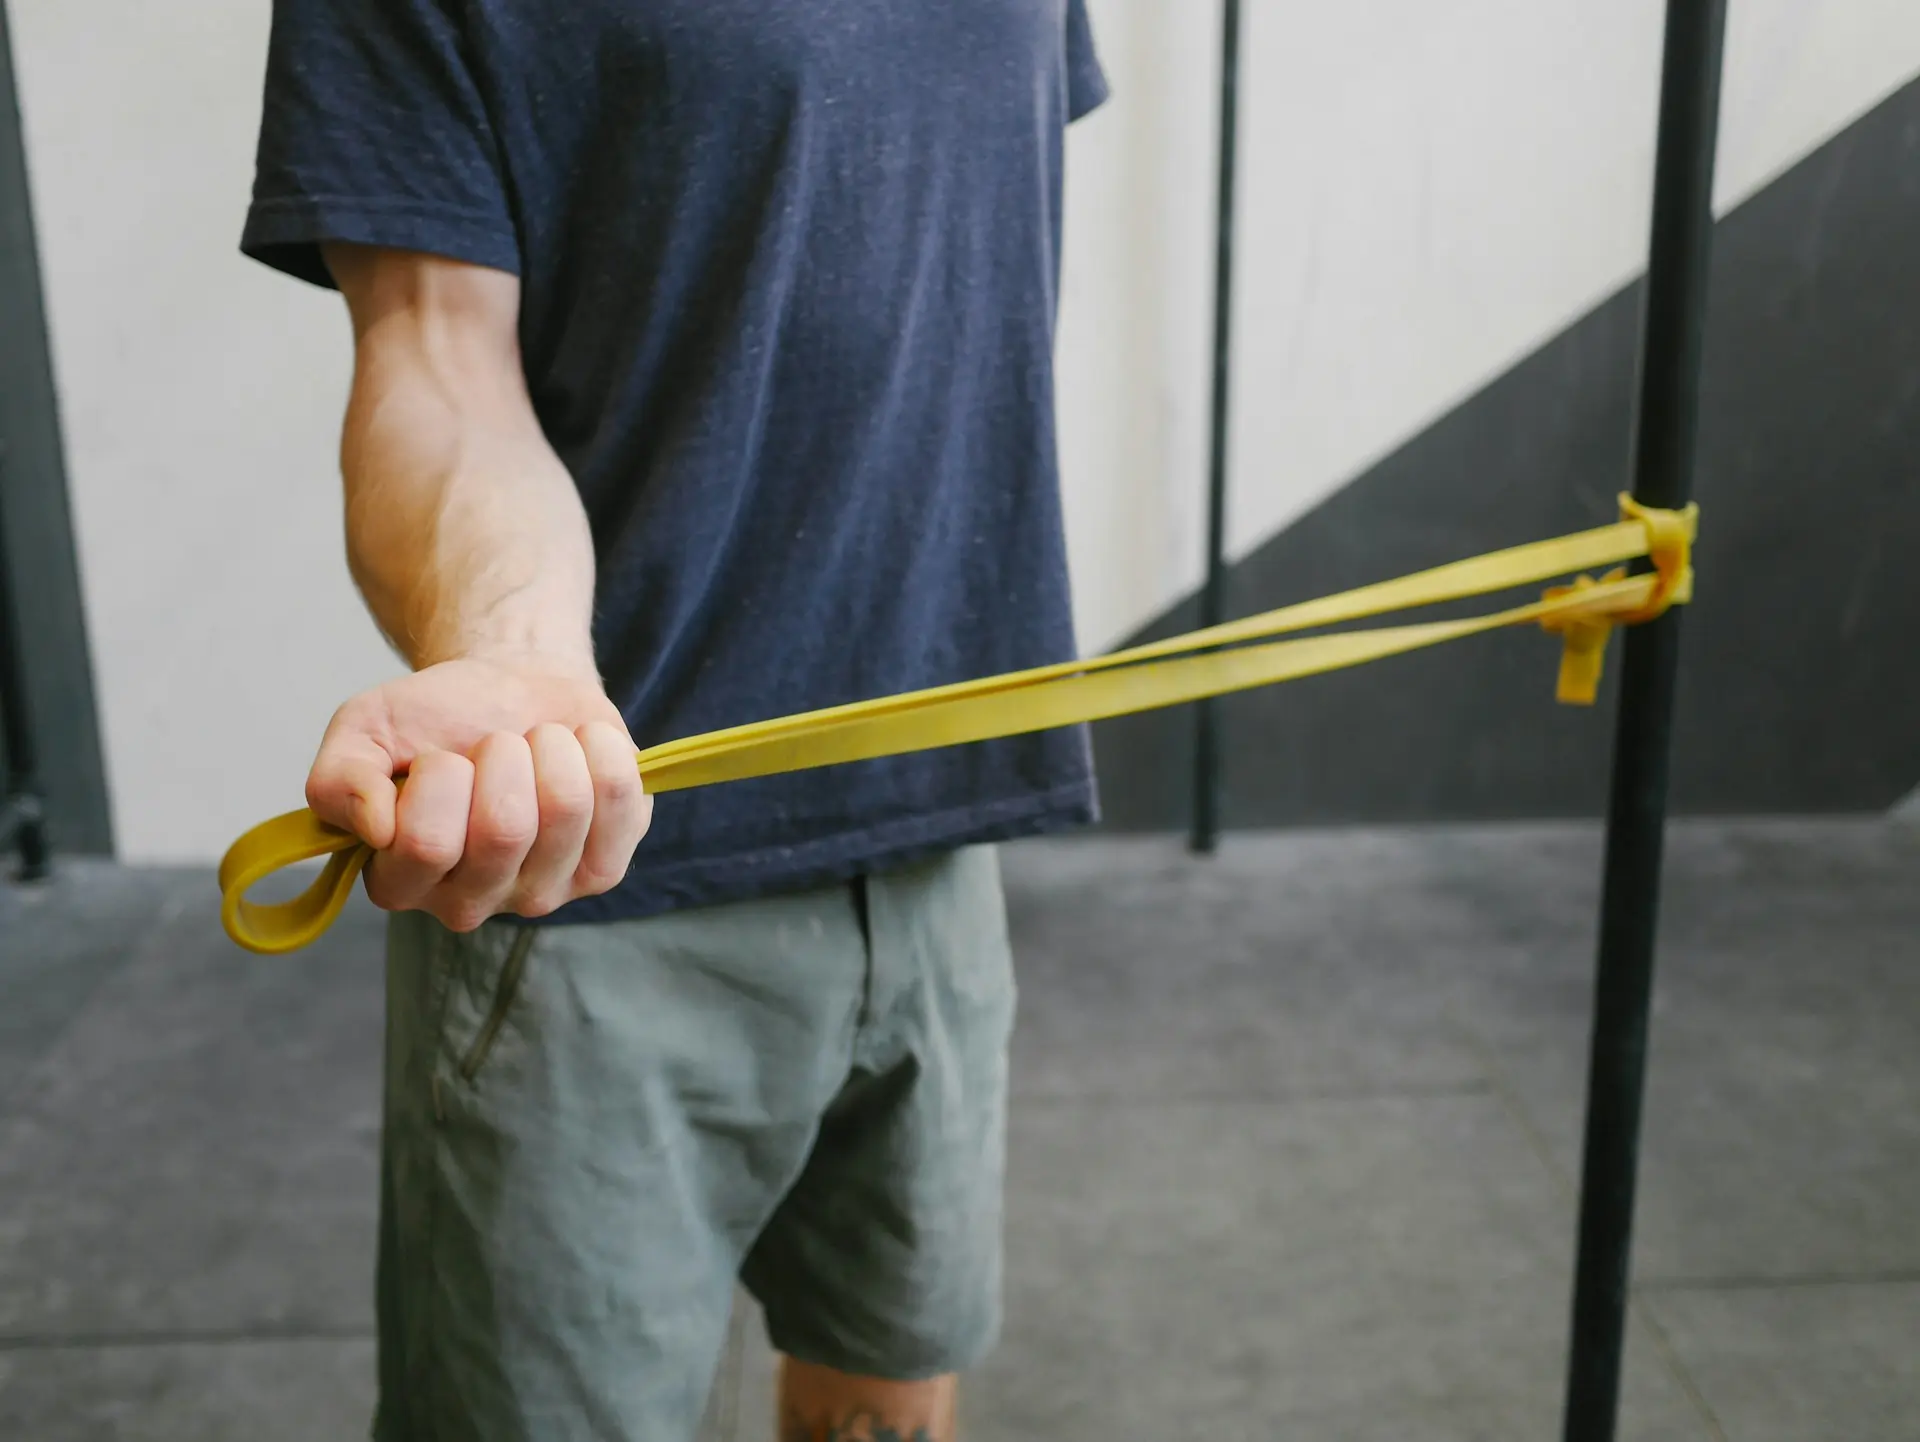
1. Loop Bands
Loop bands are continuous flat loops, typically made of latex or fabric. They’re excellent for lower-body exercises, such as squats, lunges, and glute bridges. These bands provide consistent resistance, helping to activate and strengthen the glutes, hips, and thighs.
2. Tube Bands with Handles
Tube bands consist of elastic tubes with handles attached at both ends. They’re versatile and suitable for both upper and lower body workouts. Exercises like bicep curls, shoulder presses, and chest flies can be effectively performed with these bands. The handles offer a comfortable grip, enhancing control during movements.
3. Figure-8 Bands
Figure-8 bands are shaped like the number eight, with handles on both loops. They’re ideal for targeted muscle group exercises, particularly in the upper body. Movements such as chest presses, rows, and lateral raises can be efficiently executed using these bands.
Essential Accessories
To diversify your workouts and target specific muscle groups more effectively, consider incorporating the following accessories:
-
Door Anchors: These allow you to anchor your resistance bands to a door, enabling exercises like lat pulldowns, tricep pushdowns, and chest presses. They’re easy to set up and expand the range of exercises you can perform at home.
-
Ankle Straps: Ankle straps attach to resistance bands, facilitating lower-body exercises such as leg abductions, kickbacks, and hip extensions. They provide a secure fit, ensuring comfort and stability during workouts.
Dynamo Fitness offers a range of high-quality resistance bands and accessories to support your fitness journey.
- PTP Elite Power Handles
- PTP Advanced Resistance System
- PTP Mini Resistance System
- PTP Ultimate Resistance System
- PTP Elite Adjustable Ankle Straps Pair
15 Full-Body Resistance Band Exercises to Build Muscles
1. Resistance Band Push-Ups
Targets: Chest, shoulders, triceps.
-
Position the Band: Place the resistance band across your upper back, just below the shoulder blades. Ensure it’s centered to provide even resistance.
-
Secure the Ends: Loop the ends of the band around your palms or thumbs. This setup will add resistance during the upward phase of the push-up.
-
Assume the Starting Position: Get into a standard push-up position with your hands slightly wider than shoulder-width apart. Your bodyweight should form a straight line from head to heels.
-
Engage Your Core: Tighten your abdominal muscles to maintain a neutral spine throughout the movement.
-
Lower Your Body: Bend your elbows to lower your chest toward the floor. Keep your elbows at a 45-degree angle relative to your torso.
-
Push Back Up: Press through your palms to straighten your arms, returning to the starting position. The resistance band will provide additional tension during this phase, enhancing muscle engagement.
2. Standing Resistance Band Rows
Targets: Back, biceps.
Instructions:
-
Anchor the Band: Secure the resistance band at chest height using a door anchor or a sturdy object. Ensure it’s firmly in place to prevent any movement during the exercise.
-
Assume the Starting Position: Stand facing the anchor point, with your feet shoulder-width apart. Hold the handles with your arms extended straight in front of you, palms facing down.
-
Engage Your Core: Tighten your abdominal muscles to maintain stability throughout the movement.
-
Execute the Row: Pull the handles towards your torso, bending your elbows and keeping them close to your sides. Focus on squeezing your shoulder blades together at the peak of the movement.
-
Return to Start: Slowly extend your arms back to the starting position, maintaining control and tension in the band.
3. Overhead Shoulder Press
Targets: Shoulders, triceps.
Instructions:
-
Position the Band: Stand on the center of the resistance band with your feet shoulder-width apart. Hold the handles at shoulder height with palms facing forward.
-
Engage Your Core: Tighten your abdominal muscles to maintain stability throughout the movement.
-
Press Upward: Extend your arms overhead until they are fully extended but not locked out. Ensure the movement is controlled and steady.
-
Pause at the Top: Hold the position briefly at the top to maximize muscle engagement.
-
Lower to Start: Slowly bring your hands back down to shoulder height, maintaining control and tension in the band.
4. Bicep Curls
Targets: Biceps.
Instructions:
-
Position the Band: Stand on the center of the resistance band with your feet shoulder-width apart. Ensure the band is evenly distributed under both feet to maintain balance.
-
Grip the Handles: Hold the handles with an underhand grip (palms facing forward), keeping your arms fully extended and close to your sides.
-
Engage Your Core: Tighten your abdominal muscles to stabilize your torso throughout the movement.
-
Curl the Band: Keeping your elbows stationary, bend your arms at the elbows to lift the handles towards your shoulders. Focus on contracting your biceps during this upward motion.
-
Pause at the Top: Once the handles are near shoulder level, pause briefly to maximize muscle engagement.
-
Lower the Band: Slowly extend your arms back to the starting position, maintaining control to keep tension on the biceps.
5. Resistance Band Tricep Extensions
Targets: Triceps.
Instructions:
-
Anchor the Band Overhead: Secure the resistance band to a high point, such as a door anchor or a sturdy overhead fixture. Ensure it’s firmly in place to prevent any movement during the exercise.
-
Assume the Starting Position: Stand facing away from the anchor point, grasping the handles or ends of the band with both hands. Position your hands behind your head, elbows bent, and elbows close to your ears.
-
Engage Your Core: Tighten your abdominal muscles to stabilize your torso throughout the movement.
-
Extend Your Arms: Keeping your elbows stationary and close to your head, straighten your arms by pushing your hands upward until your arms are fully extended. Focus on contracting your triceps during this upward motion.
-
Pause at the Top: Once your arms are fully extended, pause briefly to maximize muscle engagement.
-
Return to Start: Slowly bend your elbows to lower your hands back to the starting position behind your head, maintaining control to keep tension on the triceps.
6. Resistance Band Squats
Targets: Quadriceps, hamstrings, glutes.
Instructions:
-
Position the Band: Place the resistance band under the arches of your feet, ensuring it’s centered and secure.
-
Grip the Handles: Hold the handles at shoulder height with your palms facing forward. The band should run along the outside of your arms.
-
Assume the Starting Position: Stand with your feet shoulder-width apart, toes slightly turned out. Keep your chest up and engage your core.
-
Execute the Squat: Push your hips back and bend your knees to lower into a squat position. Ensure your knees track over your toes and do not cave inward.
-
Return to Start: Press through your heels to stand back up, extending your hips and knees to return to the starting position.
7. Resistance Band Lunges
Targets: Quadriceps, hamstrings, glutes.
Instructions:
-
Position the Band: Place the resistance band under the arch of your front foot, ensuring it’s centered and secure.
-
Grip the Handles: Hold the handles at shoulder height with your palms facing forward. The band should run along the outside of your arms.
-
Assume the Starting Position: Stand with your feet hip-width apart. Step one foot forward into a lunge position, keeping your torso upright and core engaged.
-
Execute the Lunge: Lower your back knee toward the ground, ensuring your front knee stays aligned over your ankle. Keep your front foot flat and maintain balance.
-
Return to Start: Press through your front heel to rise back up to the starting position. Repeat the movement for the desired number of repetitions before switching legs.
Read Also: Can You Build Muscles with Resistance Bands?
8. Resistance Band Glute Bridges
Targets: Glutes, hamstrings.
Instructions:
-
Position the Band: Lie on your back with your knees bent and feet parallel to the floor, hip-width apart. Place a resistance band across your hips, holding the ends securely against the floor with your hands to anchor it.
-
Engage Your Core: Tighten your abdominal muscles to stabilize your torso throughout the movement.
-
Lift Your Hips: Press through your heels to elevate your hips toward the ceiling, forming a straight line from your shoulders to your knees. Squeeze your glutes at the top of the movement.
-
Pause at the Top: Hold the bridge position for 1-2 seconds, maintaining tension in the resistance band.
-
Return to Start: Slowly lower your hips back to the starting position, maintaining control and keeping tension on the band.
9. Lateral Band Walks
Targets: Gluteus medius, hip abductors.
Instructions:
-
Position the Band: Place a loop resistance band around your thighs, just above your knees. Ensure the band lies flat against your skin to prevent rolling.
-
Assume the Starting Position: Stand with your feet hip-width apart. Slightly bend your knees and push your hips back into a partial squat position. Keep your chest up and core engaged.
-
Execute the Movement: Step your right foot to the right, maintaining tension in the band. Follow with your left foot, returning to the hip-width stance. Continue stepping to the right for the desired number of repetitions. Then, reverse the direction by stepping to the left.
10. Resistance Band Calf Raises
Targets: Calves (gastrocnemius and soleus muscles).
Instructions:
-
Position the Band: Stand on the center of the resistance band with your feet shoulder-width apart. Ensure the band is evenly distributed under both feet to maintain balance.
-
Grip the Handles: Hold the handles with your arms fully extended by your sides, palms facing inward. At the starting position, the band should be taut but not stretched.
-
Engage Your Core: Tighten your abdominal muscles to stabilize your torso throughout the movement.
-
Execute the Calf Raise: Press through the balls of your feet to lift your heels off the ground, rising onto your toes. Focus on contracting your calf muscles during this upward motion.
-
Pause at the Top: Once at the peak of the movement, hold the position for a brief moment to maximize muscle engagement.
-
Lower the Heels: Slowly lower your heels back to the starting position, maintaining control to keep tension on the calves.
11. Resistance Band Russian Twists
Targets: Obliques, rectus abdominis, transverse abdominis.
Instructions:
-
Position the Band: Sit on the floor with your knees bent and feet flat. Loop the resistance band around the soles of your feet, holding one end in each hand.
-
Assume the Starting Position: Lean back slightly to form a 45-degree angle with your torso, keeping your back straight. Engage your core muscles.
-
Execute the Twist: Rotate your torso to the right, bringing your hands beside your hip. Return to the center, then rotate to the left. This completes one repetition.
12. Standing Resistance Band Woodchoppers
Targets: Obliques, shoulders, core stabilizers.
Instructions:
-
Anchor the Band: Secure the resistance band to a high point above your head, such as a door anchor or a sturdy overhead fixture. Ensure it’s firmly in place to prevent any movement during the exercise.
-
Assume the Starting Position: Stand with your feet shoulder-width apart, positioning your body sideways to the anchor point. Grasp the free end of the band with both hands above your shoulder closest to the anchor.
-
Engage Your Core: Tighten your abdominal muscles to stabilize your torso throughout the movement.
-
Execute the Movement: Pull the band across your body toward the opposite hip, rotating your torso and pivoting your back foot as needed. Keep your arms extended throughout the motion.
-
Return to Start: Slowly reverse the movement, bringing your hands back to the starting position above your shoulder. Maintain control to keep tension on the muscles.
- Repeat: Perform the desired number of repetitions on one side before switching to the other side.
13. Plank with Resistance Band Row
Targets: Core, back, shoulders.
Instructions:
-
Anchor the Band: Secure the resistance band to a sturdy, low point near the floor. This could be a heavy piece of furniture or a door anchor.
-
Assume the Plank Position: Get into a high plank position with your hands directly under your shoulders and your body forming a straight line from head to heels.
-
Grip the Band: With one hand, grasp the free end of the resistance band. Ensure there’s tension in the band when your arm is extended.
-
Perform the Row: Keeping your core engaged and hips stable, bend your elbow and pull the band towards your ribcage. Focus on squeezing your shoulder blades towards your spine.
-
Return to Start: Slowly extend your arm back to the starting position, maintaining control and tension in the band.
-
Repeat: Complete the desired number of repetitions on one side before switching to the other arm.
Read Also: How to Use Resistance Bands for Strength Training
14. Seated Resistance Band Ab Crunches
Targets: Rectus abdominis, transverse abdominis.
Instructions:
-
Anchor the Band: Secure the resistance band behind you at a low point, such as under a sturdy piece of furniture or using a door anchor.
-
Assume the Starting Position: Sit on the floor with your knees bent and feet flat. Hold the handles of the band with both hands, bringing them to shoulder level.
-
Engage Your Core: Tighten your abdominal muscles to stabilize your torso throughout the movement.
-
Execute the Crunch: Contract your abs to curl your torso forward, bringing your chest toward your knees. Keep your lower back in contact with the floor.
-
Return to Start: Slowly release the contraction, returning to the starting position with control.
-
Repeat: Perform the desired number of repetitions, maintaining proper form throughout.
15. Resistance Band Leg Raises
Targets: Lower abdominals, hip flexors, and core stabilizers.
Instructions:
Set Up:
- Lie flat on your back on a comfortable surface, such as a yoga mat.
- Loop a resistance band around the arches of both feet, ensuring it’s secure.
- Hold the ends of the band firmly with your hands, keeping your arms extended by your sides.
Starting Position:
- Extend your legs straight up towards the ceiling, forming a 90-degree angle with your torso.
- Engage your core muscles by drawing your navel towards your spine.
- Ensure your lower back remains pressed into the floor throughout the exercise.
Execution:
- Slowly lower your legs together towards the floor, maintaining tension in the resistance band.
- Descend as far as you can without allowing your lower back to arch off the floor.
- Pause briefly at the lowest point.
- Engage your lower abdominal muscles to lift your legs back up to the starting position.
Resistance Band Workout Plan
Beginner Routine
Start with three days a week. Focus on mastering form and building consistency.
Monday: Upper Body Focus (Exercises 1–5)
-
Resistance Band Push-Ups
-
Standing Resistance Band Rows
-
Overhead Shoulder Press
-
Bicep Curls
-
Tricep Extensions
Wednesday: Lower Body Focus (Exercises 6–10)
-
Squats with Resistance Band
-
Lunges
-
Glute Bridges
-
Lateral Band Walks
-
Calf Raises
Friday: Core Focus (Exercises 11–15)
-
Russian Twists
-
Standing Woodchoppers
-
Plank with Band Row
-
Seated Ab Crunches
-
Leg Raises with Band
💡 Pro Tip: Do two sets of as many reps as possible for each move. Rest 30–45 seconds between sets.
Intermediate Routine: Circuit Challenge
Ready for more volume and tempo? Try this.
-
Perform all 15 exercises back-to-back in a circuit.
-
Complete 3 total rounds.
-
Rest 1 minute between rounds.
Structure Example:
-
Push-Up → Row → Shoulder Press → Curl → Extension
-
Squat → Lunge → Glute Bridge → Band Walk → Calf Raise
-
Russian Twist → Woodchopper → Plank Row → Crunch → Leg Raise
This plan for resistance band workout to build muscles and burn fat is recommended.
Advanced Routine: Superset Strategy
Push harder by pairing upper and lower body moves for efficiency and intensity.
Sample Pairings:
-
Push-Up + Squat
-
Row + Lunge
-
Shoulder Press + Glute Bridge
-
Curl + Calf Raise
-
Tricep Extension + Band Walk
-
Russian Twist + Plank Row
-
Woodchopper + Leg Raise
-
Perform 3 supersets (2 moves = 1 superset) per session
-
Do three rounds per pair, 12–15 reps each, with short rest between sets
💡 Why Supersets Work: They challenge different muscle groups without extra rest, leading to higher calorie burn and more time under tension.
Conclusion
You don’t need a gym full of machines to build strength, improve balance, and sculpt your entire body. Resistance bands offer a powerful way to train every muscle group with one compact tool.
As fitness expert Sylvester Stallone puts it, “I used to work out a lot with weights, and the check comes due on that – your joints start to hurt, discs, back, knees, it just happens… for me, at my age, I found the newest, hardest, most productive way is training with bands, stretching bands. You can get an entire workout in 20 minutes that is life-changing.”
Now is the perfect time to upgrade your workout routine with smart, adaptable training. Start with just three sessions a week. Follow the workout plans we outlined. And most importantly, choose high-quality gear that supports your progress.
Explore Dynamo Fitness’s full range of resistance bands and gym equipment online or visit us at one of our mega showrooms across Australia.
1. Gym Equipment Melbourne Stores
2. Gym Equipment Sydney Store
3. Gym Equipment Adelaide Store
4. Gym Equipment Perth Stores
Your full-body transformation doesn’t need a gym. It starts right where you are, with the right resistance.