Home Basketball System Setup and Maintenance Tips
Ready to take your basketball game to the next level? Installing and maintaining a home basketball system is easier than you might think. Whether you’re a seasoned player or just starting out, having your own court at home can provide endless hours of fun and practice.
In this guide, we’ll cover the basics of installation and maintenance, ensuring that you have all the knowledge you need to keep your basketball system in top shape. From assembling the gym equipment to understanding proper installation techniques, we’ve got you covered. Get ready to elevate your game with these essential tips.
In-Ground Basketball Goal Installation Guide
Follow step-by-step instructions for installing an in-ground basketball goal.
Installing an in-ground basketball goal may seem like a daunting task, but with the right guidance, it can be a breeze. Here are some tips to help you successfully install your own in-ground basketball goal:
-
Prepare the area: Before starting the installation process, make sure you have a suitable location for your basketball goal. Clear any obstructions and ensure there is enough space for players to move around comfortably.
-
Gather the necessary tools and materials: To install your in-ground basketball goal, you will need a few essential tools and materials such as a shovel, concrete mix, post-hole digger, level, tape measure, and anchor system. Having everything ready beforehand will save you time and frustration during the installation process.
-
Measure and level: Proper measurements and leveling are crucial for ensuring that your basketball goal is installed correctly. Use a tape measure to mark the desired height of the hoop and use a level to ensure that it is perfectly straight.
-
Dig the hole: Digging the hole for your basketball goal’s footing is an important step. Use a post-hole digger to create a hole that is deep enough to accommodate the footing while providing stability for your hoop.
-
Secure with concrete: Once the hole is dug, mix concrete according to the manufacturer’s instructions and pour it into the hole around the footing. Make sure it is evenly distributed and allow it to dry completely before proceeding further.
-
Attach anchor system: After the concrete has dried, attach the anchor system securely to both the footing and backboard support pole. This will provide additional stability to your basketball goal.
By following these step-by-step instructions, you can successfully install an in-ground basketball goal at home without much hassle or stress.
Read Also: How to Choose the Right Basketball Backboard
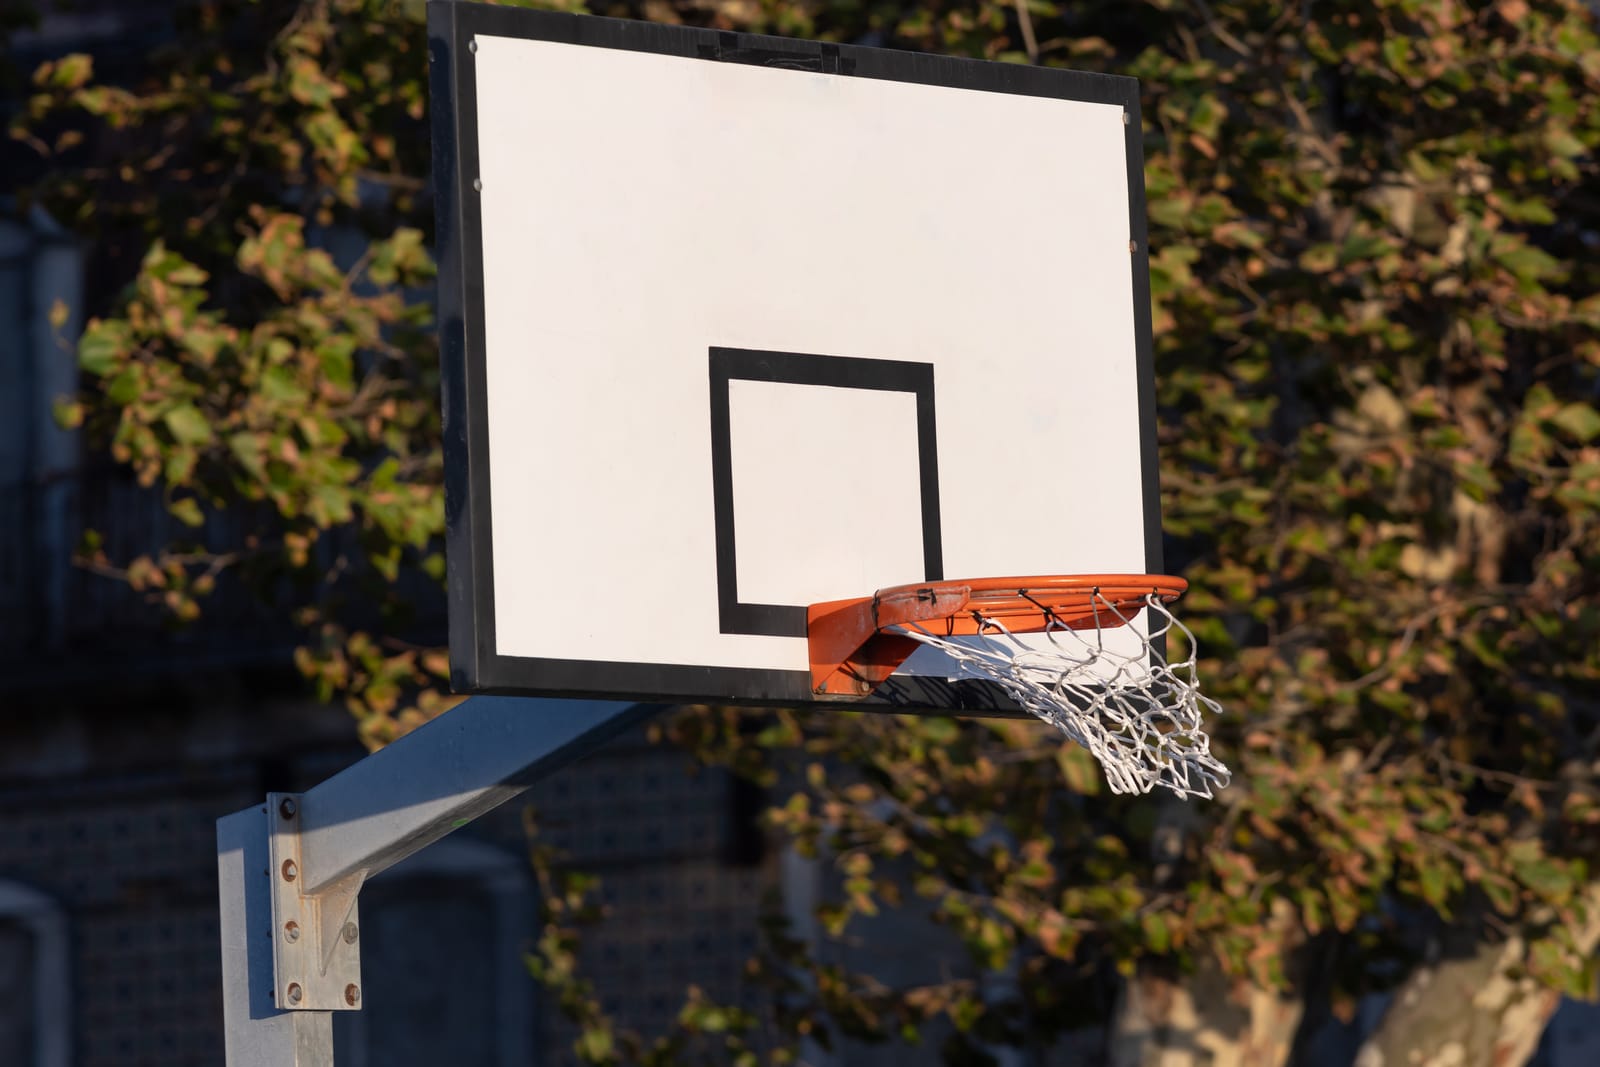
Maintenance Techniques for Outdoor Basketball Hoops
To keep your outdoor basketball hoop in top condition, it’s important to follow effective maintenance techniques. By regularly cleaning, inspecting, and repairing various components of your hoop, as well as implementing weatherproofing strategies, you can ensure its longevity and optimal performance.
Clean and Inspect Regularly
Cleaning your outdoor basketball backboard and hoop is essential to remove dirt, dust, and debris that can accumulate over time. Use a mild detergent or soapy water solution to clean the backboard, rim, net, and pole. Rinse thoroughly with clean water and allow them to dry completely before use. Regular inspections should be conducted to identify any signs of damage or wear. Check for loose bolts or screws on the rim and net attachment points. Ensure that the backboard is securely fastened to the pole.
Repair Damaged Components
If you notice any damaged components during inspection or regular use of your outdoor basketball hoop, it’s crucial to address them promptly. Replace torn nets or damaged rims to maintain optimal playability. If the steel pole becomes bent or shows signs of rusting, consider contacting a professional for repair or replacement options.
Weatherproof Your Hoop
Outdoor basketball hoops are exposed to harsh weather conditions such as rain, snow, and extreme temperatures. To protect your hoop from these elements:
-
Apply a rust-resistant coating on the steel pole.
-
Use a weatherproof cover when not in use.
-
Clear off snow accumulation from the backboard and rim.
-
Avoid playing during severe weather conditions.
By implementing these maintenance techniques for your outdoor basketball hoop regularly, you can ensure its durability and extend its lifespan.
Read Also: Bodybuilding Equipment for Home
Tips for Properly Maintaining Basketball Hoops
Different Types of Basketball Hoops
Maintaining your basketball hoop is essential to ensure its longevity and safe gameplay. Whether you have a portable or wall-mounted system, here are some valuable tips to keep in mind:
Regular Inspections for Safety
Regularly inspecting your basketball hoop is crucial for identifying any potential issues that may arise. Check for loose bolts, cracks in the backboard, or tears in the net. By addressing these problems promptly, you can prevent accidents during play.
Adjusting Net Tension
Over time, the net on your basketball hoop may become loose or saggy. To maintain optimal performance, it’s important to adjust the net tension periodically. This can be done by tightening the hooks or clips that secure the net to the rim.
Replacing Worn-Out Parts
As with any equipment, certain parts of your basketball hoop may wear out over time. If you notice worn-out components such as torn nets or damaged backboards, consider replacing them promptly. This will not only improve the aesthetics but also enhance safety during gameplay.
Protection During Storage
If you have a portable basketball hoop that needs to be stored away when not in use, taking proper precautions is vital. Use a protective bag or cover to shield it from dust, moisture, and other elements that could potentially cause damage.
By following these maintenance tips for different types of basketball hoops – including portable and wall-mounted systems – you can ensure their longevity and safe usage. Remember to regularly inspect your hoop for any issues, adjust net tension as needed, replace worn-out parts promptly, and provide adequate protection during storage.
Best Practices for In-Ground Basketball Hoop Installation
To achieve a sturdy and secure in-ground basketball hoop installation, it’s crucial to follow some best practices. Let’s dive into the key tips that will help you set up your new basketball hoop with ease.
Read Also: Top Exercises Using Slam Balls to Engage Core & Gain Muscles
Proper Hole Digging Techniques
When installing an in-ground basketball hoop, the first step is digging the hole. Here are some important techniques to ensure you dig the hole correctly:
-
Dig a hole that is at least 48 inches deep and 18-24 inches wide.
-
Use a post-hole digger or an auger for easier and more precise digging.
-
Ensure that the hole is level and free from any debris or obstructions.
Concrete Pouring Methods
Once you have dug the hole, it’s time to pour concrete to create a solid foundation for your basketball hoop. Follow these steps for proper concrete pouring:
-
Mix the concrete according to the manufacturer’s instructions.
-
Pour the concrete into the hole until it reaches ground level.
-
Use a shovel or trowel to smooth out the surface of the concrete.
Post Alignment Tips
Properly aligning the post of your basketball hoop is essential for optimal performance and safety. Consider these tips when aligning the post:
-
Use a level to ensure that the post is perfectly vertical.
-
Have someone hold the post steady while you check its alignment.
-
Adjust as needed until it is straight and aligned properly.
Anchoring for Maximum Stability
Anchoring your basketball hoop securely to the ground will prevent wobbling or tipping during intense play sessions. Follow these guidelines for maximum stability:
-
Use anchor bolts specifically designed for in-ground basketball hoops.
-
Insert them through pre-drilled holes in both sides of the pole before pouring concrete.
-
Tighten them securely once everything is in place.
By following these best practices, you can install your in-ground basketball hoop with confidence, ensuring a sturdy and secure setup that will withstand hours of playtime.
Important Considerations for Concrete Mixing in Cold Weather
There are a few important considerations you need to keep in mind. The low temperatures can affect the setting time and strength development of the concrete, so it’s crucial to take certain precautions.
Additives for Improved Curing
One of the recommended ways to improve concrete curing in low temperatures is by using additives. These additives can help accelerate the curing process and enhance the strength development of the concrete. Some commonly used additives include:
-
Accelerators: These additives speed up the hydration process, allowing the concrete to cure faster.
-
Retarders: On the other hand, retarders slow down the setting time of concrete, which can be beneficial if you need more time for placing and finishing.
Temperature Control
Controlling the temperature of both water and aggregates is essential when mixing concrete in cold weather. Here are some tips:
-
Use warm water: Using warm water instead of cold water helps maintain a suitable temperature throughout the mixing process.
-
Preheat aggregates: If possible, preheating aggregates before mixing will minimize heat loss during curing.
Proper Mixing Techniques
Proper mixing techniques are crucial for achieving high-quality concrete. In cold weather conditions, pay attention to these aspects:
-
Mix thoroughly: Ensure that all ingredients are mixed thoroughly to achieve uniformity and avoid weak spots.
-
Use an appropriate mix design: Adjusting your mix design by increasing cement content or using special admixtures can help compensate for reduced strength due to lower temperatures.
Remember, when working with concrete in cold weather, it’s important to follow manufacturer guidelines and consult with professionals if needed. Taking these considerations into account will help ensure that your concrete mix is strong and durable even in chilly conditions.
Key Takeaways for Home Basketball System Installation and Maintenance
You are now equipped with the knowledge to install and maintain your home basketball system like a pro. By following the steps outlined in the sections above, you can ensure a sturdy installation and prolong the lifespan of your hoop. Remember, proper maintenance is key to keeping your basketball system in top shape and ensuring endless hours of fun for you and your family.
Now it’s time to put your newfound expertise into action. Gather your tools, grab a friend or family member for assistance, and get ready to transform your backyard into a basketball court that will be the envy of the neighborhood. Don’t forget to check back regularly for more tips and tricks on how to enhance your basketball experience.
FAQs
How often should I inspect my home basketball system?
Regular inspections are crucial for maintaining the safety and performance of your basketball system. It is recommended to inspect it at least once every three months or after any severe weather conditions such as storms or heavy winds.
Can I use any type of concrete mix for installing an in-ground basketball hoop?
No, it’s important to use a high-quality concrete mix specifically designed for outdoor installations. These mixes usually contain additives that enhance durability and resistance against harsh weather conditions.
What should I do if my basketball hoop starts wobbling?
If you notice any wobbling or instability in your basketball hoop, first check if all bolts and screws are tightened properly. If that doesn’t solve the issue, consult the manufacturer’s instructions or contact their customer support for further guidance.
How do I clean my outdoor basketball hoop?
To clean an outdoor basketball hoop, simply use mild soap mixed with water and a soft cloth or sponge. Avoid using abrasive cleaners or materials that may scratch the surface.
Can I adjust the height of my portable basketball system?
Yes, most portable basketball systems come with adjustable height options. Refer to the manufacturer’s instructions on how to properly adjust the height of your specific model.